Troubleshooting and Repair of Portable Solar Panels
If your portable solar panel is not working, it can mean it is not set up with a high enough current to charge its batteries. The two main factors are the need for more sunlight or a wiring issue in your panel’s junction box.
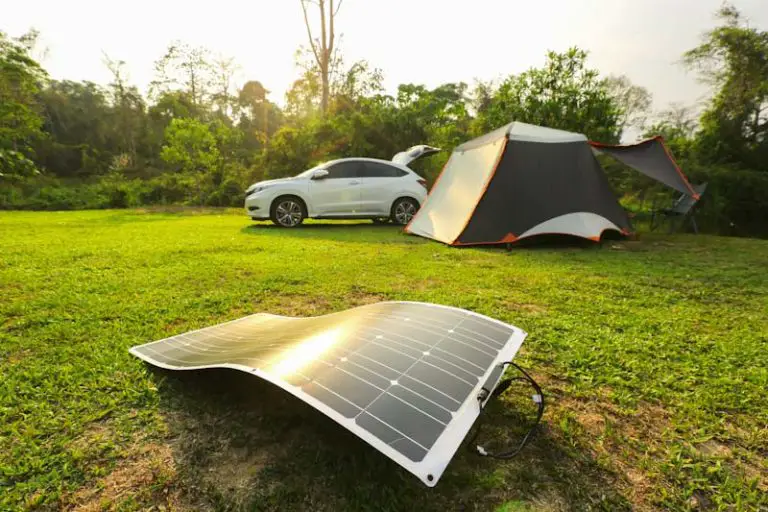
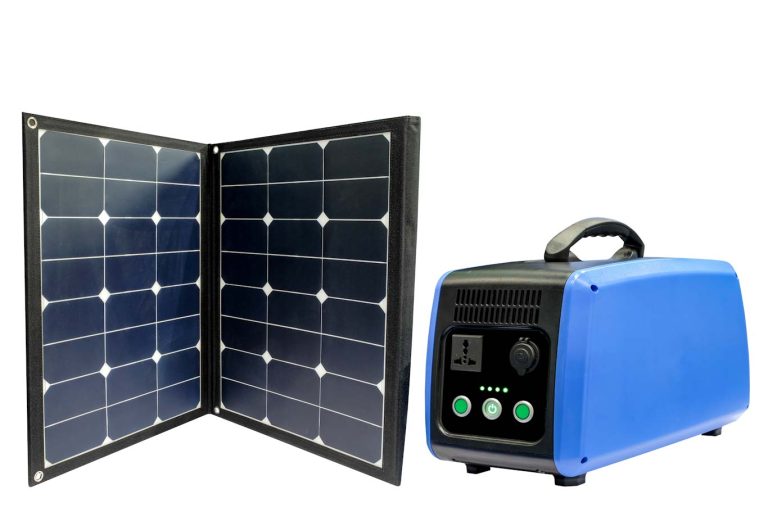
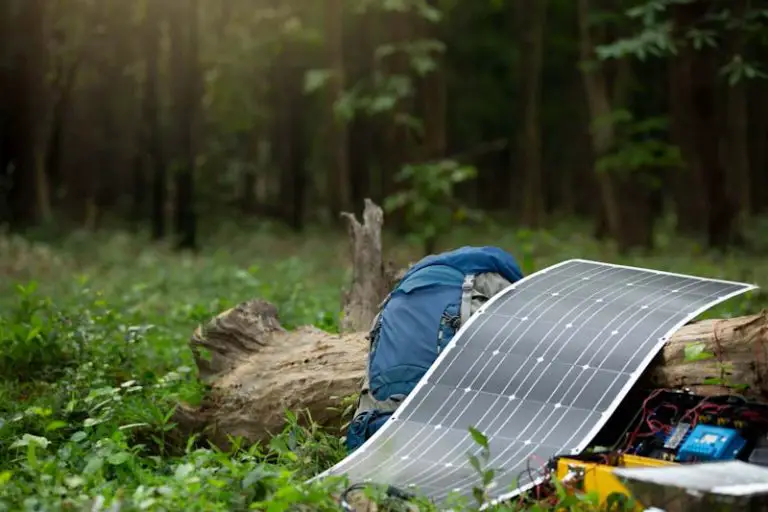
Portable solar panels come in small sizes that you can easily buy anywhere. Like any solar panel, these machines convert sunlight to electricity. Each solar panel’s cell is divided into smaller ones made of silicon.
How Do I Reset My Solar Controller?
There are two ways that you can reset your controller, performing a soft reset or a hard reset. It’s always best to do a soft reset first, especially if you don’t know the gravity of the issue yet.
Resetting your solar controller will return to the original factory setup. If you’ve tried troubleshooting your controller and it still hasn’t worked, then a reset is the next step for you to do.
Soft Reset Your Solar Controller
- Ensure that you press all buttons at the front of your solar controller.
- As you press all buttons, hold it for at least 12 seconds until the controller starts to reset.
- Check if there is electricity coming out of the machine.
- If the controller doesn’t normally work even after doing this, consider doing a hard reset.
Hard Reset Your Solar Controller
- If your solar panel is mounted on the wall, take it off.
- Disconnect all wires from the solar panel itself. Be sure to remove the panel positive, panel negative, and battery negative.
- Leave the solar panel untouched for at least 20 minutes.
- Start connecting the battery wires, the positive and then the negative cables.
- After you’ve connected the battery wires, connect the panel positive and negative wires.
- Check to see if the Solar Controller is working as expected.
Reasons Why Your Portable Solar Panel Is Not Working
There are five common reasons why your Portable Solar Panel is not working. In the list below, we talk about what might be wrong with your machine and how you can fix each specific issue.
The Controller Is Not Turning On
Controllers need at least 12 volts to work; if it doesn’t receive this minimum amount of electrical voltage, they will not turn on.
You can trace the voltage to the battery with a multimeter tool to understand the connection issue or the battery.
A Short Between The Positive And Negative Wires
Before turning on the solar panel, ensure all cables and connections are in place. Lift the cover of the junction box to check the wires.
See if there is a short between the battery and panel wires in the box. To be sure, use a conductivity tool to check this.
The Cover Is Misaligned
If both the battery and the panels have no issues, the problem is most likely the controller. Check to see if the cover of the controller is in its proper place.
To do this, use your thumb or forefinger to secure it. The surface will be uneven and crooked if the cover is not aligned correctly.
Lack Of Available Voltage
If the solar controller gets 12 volts below, then an indicator will light up on the solar controller. It means that the panel is not getting enough energy to keep the machine working on charging the batteries.
Two possible reasons are a short circuit on the wires or a lack of energy supply.
It is essential to remember that the voltage produced by solar panels differs from the current it provides. The current is affected by blockages like shade and dirt, but the voltage should remain untainted by these things.
You Have Not Tried To Reset Your Solar Controller Hard
Usual soft resets can reboot the issue of your panel, but if you’ve tried this and all other common fixes, it may be time to reset your machine hard.
You must remove all wires connected to your machine for a hard reset. After which, wait for at least 15 minutes and start reconnecting all cables to test the machine.
Why Is My Portable Solar Charger Not Working?
There are a lot of reasons why a solar charger can stop working. It’d be best to check all parts and connections of your solar charger to ensure you’re fixing the right issue.
Here is a list of the common reasons why your Portable Solar Charger is not working:
Faulty Solar Panel
If the solar panel is broken, then your machine won’t be able to capture the solar energy it needs to keep it going. The common issues you should look for in your solar panel are listed below:
Cracked Panel
It is a hardware issue; your panel may have cracked or has a damaged surface. Most of the time, you cannot spot these cracks easily with the naked eye, so you can hire a professional to check or fix your panel.
A cracked panel can either cause mechanical failures or reduced power absorption of the panel during the day.
Water Inside Your Panel
Since your panel have high exposure to either sunlight or rain, water can be able to seep through small cracks.
If there is water inside your panel, you will notice weird patterns inside your solar panel as a reaction of the water to the mechanical design of the panel.
If you live in a place with long periods of winter time, then portable solar panels are perfect for you. You can adjust your panels to optimum angles during this time of the year to prevent dirt or water accumulation on your equipment.
Hot Spots
As any machine one uses daily, solar panels can acquire damage as part of their wear and tear. Solar panels can catch hot spots that create an imbalance in energy absorption.
These hot spots can look like a shadow on your solar panel and are usually warmer than the other part of the solar panel. Leaving hot spots unfixed can decrease the efficiency of a solar panel in absorbing energy.
Quality Of The Panel
Solar panels, just like any other machine, wear off over time. Especially if the materials used are cheap, there will be a higher chance that its circuit can get busted easily.
One of the main concerns of environmental conservation is the enormous amounts of wasted solar panels made from cheap materials.
Despite the positive impact on energy conservation, you should consider the durability of your solar panel to avoid wastage.
It’s also advisable to use panels at the advisable period by the manufacturer to avoid further reliability issues and damage.
The Diode
If the diode on your solar panel is broken, the flow of electricity will reverse during nighttime and damage your battery. It is pivotal to fix a broken diode right away.
Solar panels that are incredibly cheap can have circuit problems over short periods and damage your battery even more.
You would want to purchase a solar panel with quality materials like aluminum for its base. Aluminum is an excellent conductive and convective for power to be processed more efficiently by your solar panels.
Faulty Battery
A broken battery will not allow you to charge or store your needed electricity. You will also have to see if your battery is compatible with the Solar Panel you bought.
Damaged batteries will show common signs like discoloration, uneven surfaces, and in severe cases, leakage.
If you do not rely on your solar panel mostly for electricity, it is still advisable for you to charge your battery from time to time. It helps your battery not become idle and to be easier to charge the next time you use it at a maximum level.
Broken Machine Parts.
For most of those who own Portable Solar Panels, this is the most common issue when there’s zero power output from the solar panel.
The first thing that you should check is either the controllers or the inverter. If you see these two parts functioning correctly and undamaged, you can move on to see the other parts of the machine.
Check your regulator, too, to see if it is busted or not. See if the wires are entirely in place and not damaged.
Wrong Machine Set Up
The charge controller plays a vital role in translating solar energy to your machine. Your entire machine will not function if there is an issue with how the solar panel or the installation of the charge controller.
A common mistake that people make is that they connect the panels to the batteries directly. Over time, this can become an issue and damage the panel or the battery. Manufacturers highly recommend that one uses a solar controller to avoid this.
But if you do not appropriately connect your solar controller to the machine, have misaligned wires, and have wrong positive and negative connections, the voltage will mismatch and create a short.
Wrong Location Of Your Panels
Another wrong setup is the location of your solar panels. A solar panel will not be able to work correctly without enough sunlight. You have to ensure that there are no thick wires, trees, or vines covering your solar panel that can hinder energy absorption.
There are solar panels that are designed to rotate and angle towards where there is most sunlight detected. You can consider choosing this solar panel to increase your battery’s processing power efficiency.
Damaged Charge Controller
The solar charge controller is a mediator between the actual battery and the solar panel. If this part is damaged, then your battery won’t get charged.
There are times when this regulator gets broken and will need to be replaced. The most common errors for charge controllers are display freeze and moon symbol errors.
What Would Cause A Solar Panel To Stop Working?
For those who use solar panels, the most reported reason for a panel to stop working is the internal failure of the system’s inverter.
Now there are other factors you can check for yourself before you call a professional to fix your solar panel. Check on these parts of your solar panel system when your panel stops working:
Generation Meter
The generation meter allows you to see the status of your solar panel’s system. If you see that it doesn’t have anything displayed, there are two reasons that you can check out.
The first possible reason is that electricity is not getting to your meter. It means that your circuit breaker may have tripped in its fusebox. You’ll easily spot a tripped breaker, and if this is the reason, all you need to do is reset and turn it on again.
But if your circuit breaker did not trip, the problem may lie in the generation meter itself. It could be an internal mechanism that’s not wired or working correctly and must be checked by a professional Electrician.
Inverter
If you’ve checked your meter and find no issues, you should check your system’s inverter.
Properly functioning inverters will display a live status on what the solar panels generate. Some also provide a history of readings for days, weeks, and months to compare power output.
Solar panel systems include software that automatically tracks the voltage, current, and electricity. The said system also prompts system or hardware maintenance when the solar panel is not producing the expected power.
But an inverter must display the production value of the current energy being processed when there is sunlight. It’s normal for inverters to stay idle when there is no sunlight to absorb, but if there’s sunlight and your inverter is not displaying anything, then you must fix it.
Solar Panels
Since your solar panels are the most exposed part of your solar hardware, there’s a higher chance of it acquiring damage than the other parts.
If the inverter and the generation meter are not damaged, the issue could be on the solar panel itself. A common sign of a problem is if your meter is showing decreased power production than usual.
Accumulated dust, dirt from trees, and bird droppings can block solar panels. These are the three most common causes of solar panels’ poor performance.
Check to see if anything is blocking your panels or if water has seeped into them. Otherwise, if your solar panels seem reasonable, it may be time to call a professional to diagnose the issue.
How Do I know If My Portable Solar Panel Is Working?
There are at least two ways to test out Solar Panels. The main things that you would have to check are the power output, voltage, and current.
To do this, you must have at least one of the following tools: a Watt Meter and a Multi-meter.
How To Test Your Portable Solar Panel Using A Watt Meter
Watt Meters are also called Power Meters. It measures voltage use, electrical current, wattage, and other necessary things for power flow.
- Connect your Solar Charge Controller to the Battery.
- Establish the connection between the Watt Meter and the Adapter Cables. Connect the watt meter to the charge controller cables.
- Connect the Solar Panel. After you’ve connected the adapter cables to the Watt Meter, connect it to the Solar Panel for testing.
- Start measuring the power output. Now that all parts are connected place the solar panel where it can absorb sunlight.
Once done, the Watt Meter should turn on automatically and display the panel’s power output.
How To Test Your Portable Solar Panel Using A Multimeter
A multimeter is probably the most used and recommended tool for those with solar panels at home. It is the easiest to use and can display various helpful information in a solar panel.
This tool can measure open circuit voltage (Voc), short circuit current (ISC), and the opening current.
Check The Open Circuit Voltage
There should be an indicated open circuit voltage on your solar panel’s label. Keep this number in mind as you do this test. Plug the solar panel’s black probe into your multimeter’s COM port, and then plug the red probe into the voltage port of your tool.
Turn on your Multi-meter and then set it on the correct voltage range. After this, select the DC voltage setting. Then place your solar panel outside to detect sunlight.
Look for the positive male MC4 connector and then place the tip of the red probe on the metal pin at the center of the MC4 connector. After this, please do the same with the black probe connecting it to the negative MC4 connector.
Check the voltage shown in your multimeter, and then see if it matches the open circuit voltage listed on the back of your solar panel. The measurement doesn’t have to be exact as the number indicated on the solar panel, but it should be close to that.
If you see a negative voltage reading, reverse the probes you connected to see if it’s on the right probe then you can start measuring the voltage again.
On the other hand, if you see the voltage significantly lower than the expected voltage, try to remeasure your panel. Make sure that you angle your panel towards direct sunlight.
Remove any possible hindrances like tree leaves or shades, and clean the surface of the solar panel. If this doesn’t work, then it’s probably time to have your solar panel checked by a professional first.
Once the multimeter has shown the right amount of voltage, you can move on to the next step, measuring the circuit current.
Measure the Short Circuit Current (ISC)
Like what you did with the open circuit voltage measurement, check the label of the solar panel to see the short circuit current you should expect to see on your Multi-meter.
Change your Multimeter setting to amps. You can do this by moving the red probe to the amperage port.
It’s essential to remember that your Multi-meter’s fuse should be larger than your solar panel’s short circuit current. You will be able to see the fuse zie on the amperage port of your Multi-meter.
Once you’ve set up your Multi-meter correctly, take your solar panel outside and place it where the sunlight is.
Then, connect the red probe of your multimeter to the positive MC4 pin. Do the same with the black probe to the negative MC4 connector. The small spark indicates that you have successfully paired the probes and the pin.
If the current reading on your Multi-meter is at par with the number on the solar panel label, it means your solar panel is working.
Remember that there are times of the year when it is more rainy or cloudy than sunny. Research shows t in countries with high humidity enhance a solar panel’s ability to produce voltage and output current. (Source)
You may not always get the exact number stated on your solar panel, which is normal. As long as it’s within the range, then it should be good enough.
Measure your Operating Current or the PV Current
You can connect your solar panel to the charge controller like the abovementioned step. Make sure that you have your solar charge controller and your battery.
Make sure to secure the adapter cables attached to the controller. The negative solar cable should go to the negative adapter cable. Leave out the positive solar cable unconnected.
Set up your Multi-meter to measure amps just like in the previous step. But this time, don’t place your solar panel directly under sunlight. For this, you have to either place a towel on your solar panel or place it upside down, so it doesn’t start generating power.
Connect the red probe to the pin of the male MC4 connector and do the same with the black probe to the female MC4 connector to complete the connection.
After this, remove the towel on your solar panel or flip it to start detecting sunlight. You will see a reading on amperage in your Multi-meter if your solar panel is functioning correctly.
You can compare if the number you’ll see on the Multi-meter is close enough to the current power indicated on the label of your solar panel. Most labels indicate the maximum current measurement the solar panel can process.
If the number on your Multi-meter doesn’t precisely match the indicated number on the solar panel, you still don’t have to be warry over anything. Solar panels usually produce an average of 75% of their rated power output and only 100% under certain conditions.
How Do I Reset My Solar Controller?
If you decide to reset your solar charge controller, expect your controller to be back to its factory settings. Sometimes, this is the only way to fix a malfunctioning controller. But do note that it is only advisable to do this if you constantly encounter issues with your solar panel.
Before you do this, disconnect all module wires and place them on a cloth or rubber floor to be safe. You can reset the solar charge controller by simply pressing the power buttons at the front and holding the button for at least 15 seconds until it restarts on its own.
If this doesn’t work and your solar charge controller doesn’t start to power up again, you can try a soft reset on your machine. This process takes a little more time than a simple reset, including taking your controller off the wall.
The process is simple; think of it as restarting your mobile phone. All you have to do is to unplug and plug the solar panel controller from the battery. It should stop the error on your controller.
If the controller still doesn’t work even after unplugging, then it’s time that you call a professional Electrician to fix the issue. You can also try unplugging the solar panel to the battery and then plugging it back to reset the connection.
Summary
Portable solar panels that do not charge smoothly can be troublesome at first. The good thing about it is that you can fix it once you have the basic knowledge of diagnosing and fixing it.
The main reason your portable solar panel is not working is probably one of the following: a broken solar panel, faulty batteries, and damaged equipment. Remember not to resort to using low-quality products to avoid further damage.
Make a habit of regularly checking your portable solar panel’s hardware to ensure you’re not missing out on any defects.